
You can find the original posting on Steemit:
https://steemit.com/steemit/@jo3potato/crypto-nooby-loses-virginity-to-steem
Well, sort of. Technically, my first was Litecoin, second was Bitcoin, and third was Steem. However, Steem is who I settled down with, and that’s what matters at the end of the day, right? You might enjoy this story if you would like an 18-step, convoluted system for acquiring Steem!
Step 1: Coinbase Account Confirmation
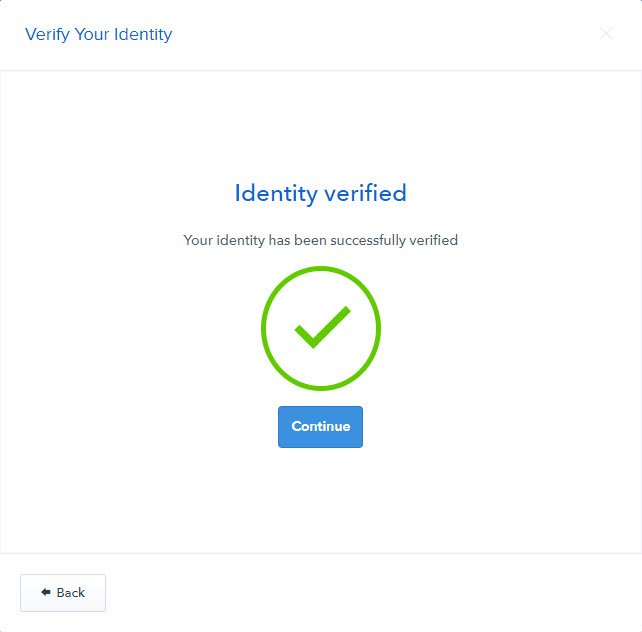
The first step in my journey was to confirm my account on https://www.coinbase.com. I had created an account sometime back when I wanted to accept Bitcoin as a payment option through my website. Turns out Stripe already enables this, so my Coinbase account sat dormant for about a year. I started by linking my PayPal account thinking I would be able to use my existing balance, but it turns out you can only transfer funds from Coinbase into PayPal. Anyone know why this is the case? Anyhow, I was able to link my credit card without an issue.
Step 2: Purchasing Litecoin
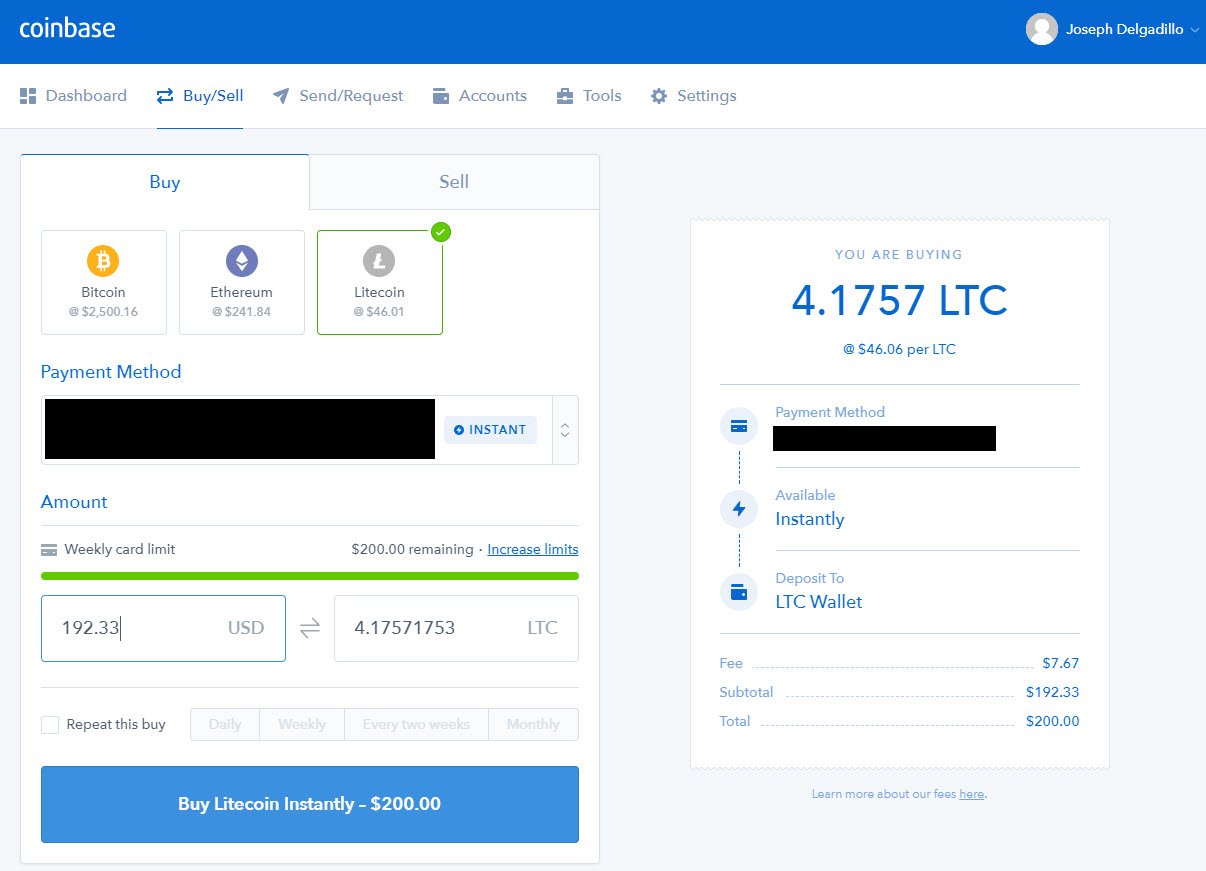
Once I was able to confirm my payment method, I was ready to buy my first crypto! Thank you to @jerrybanfield for advising me to begin with Litecoin for the quickest possible turnaround. I would have preferred to make a bigger first purchase since Steem was down 20% or so, but I suppose the $200 limit is for my own protection 😛
Step 3: Purchase Successful!
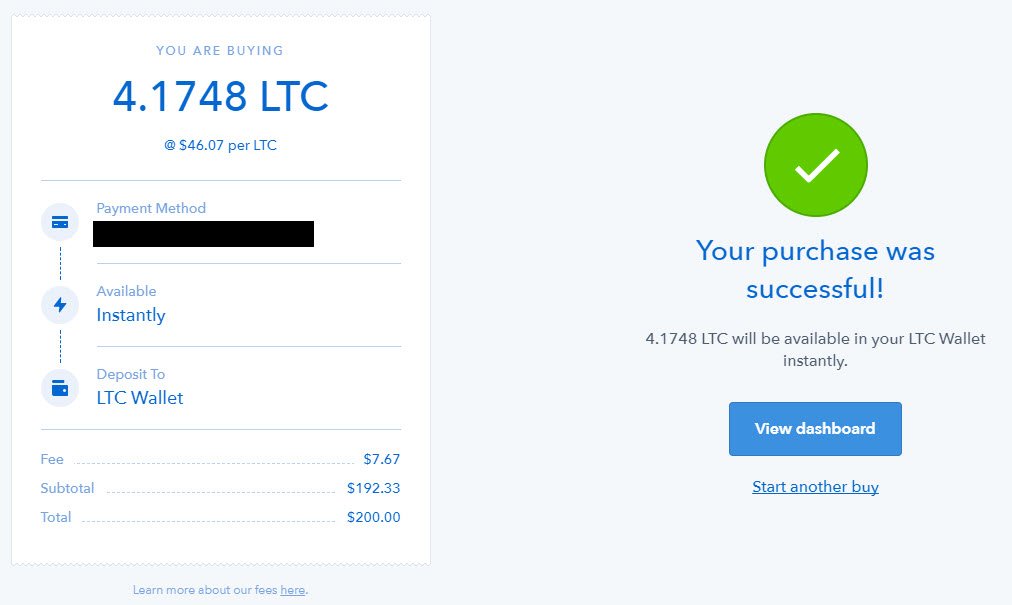
I did it! I purchased my first bit of cryptocurrency 😀
Step 4: Transaction Flagged by My Credit Card Company
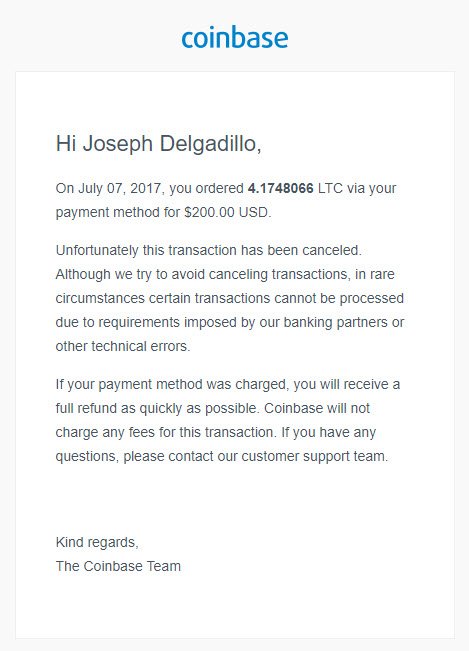
It was over before it began…just kidding. I received an email to confirm the transaction with my bank within seconds of the transaction being cancelled by Coinbase. My bank informed me that I wouldn’t have any issues repeating the transaction, so I was all set to place another Litecoin order on Coinbase.
Step 5: Let’s Try That One More Time
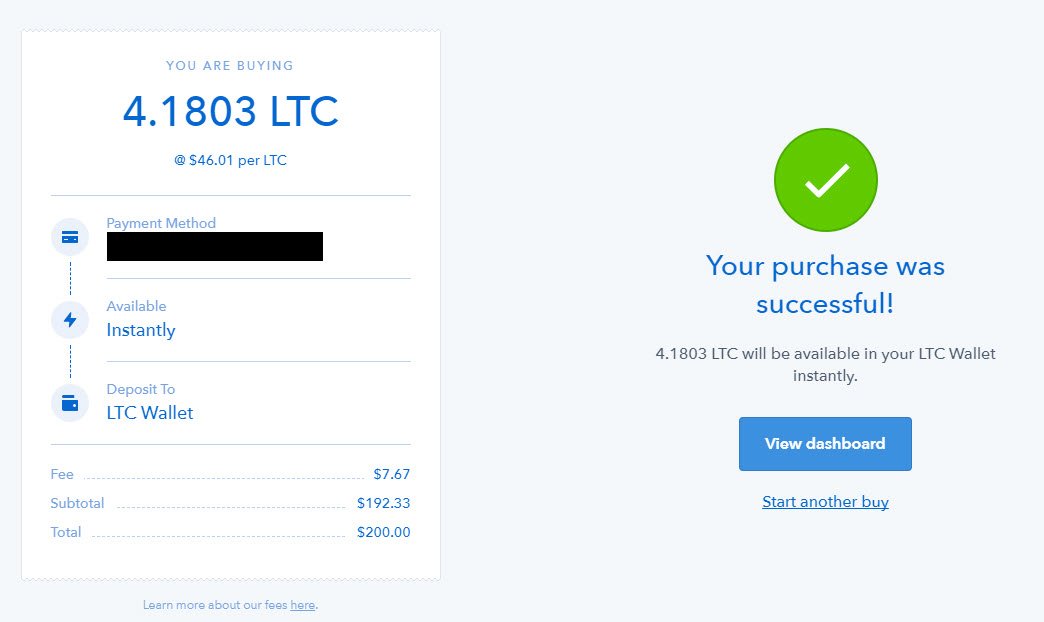
This time the order went through without a problem and I now had 4.1803 LTC in my wallet! This time around I even received 0.0055 more Litecoin due to the price going down $0.06 😀
Step 6: Creating a Bittrex Account

The next step was to transfer my shiny, new Litecoin to an exchange where I could trade for Steem. I must admit, I was a bit skeptical of https://bittrex.com at first. The low-resolution image of the Space Needle on their home screen looks kind of unprofessional. However, seeing the company was based in Seattle (my hometown) gave me confidence in the platform. After confirming the account, all I needed to do was generate a Litecoin address to transfer my balance over from Coinbase.
Step 7: Transferring My Litecoin from Coinbase to Bittrex
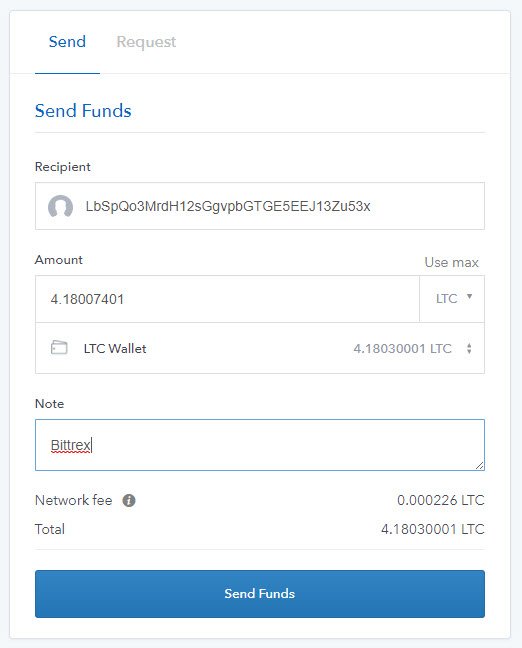
The next step was to transfer my Litecoin over to Bittrex. I LOVE the low transfer fees with cryptocurrency! I am used to PayPal having their way with me for most payment processing and it adds up over time 🙁
Step 8: Transfer Confirmed
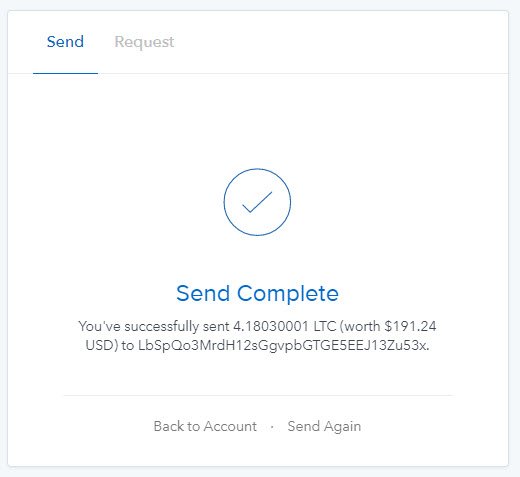
That was quick…or was it?
Step 9: Deposit Pending

The transfer showed up almost immediately as pending on Bittrex. I starred at the screen for 30 seconds or so and hit refresh. Still pending. I thought to myself, what is going on?
Step 10: Waiting for the Network to Confirm
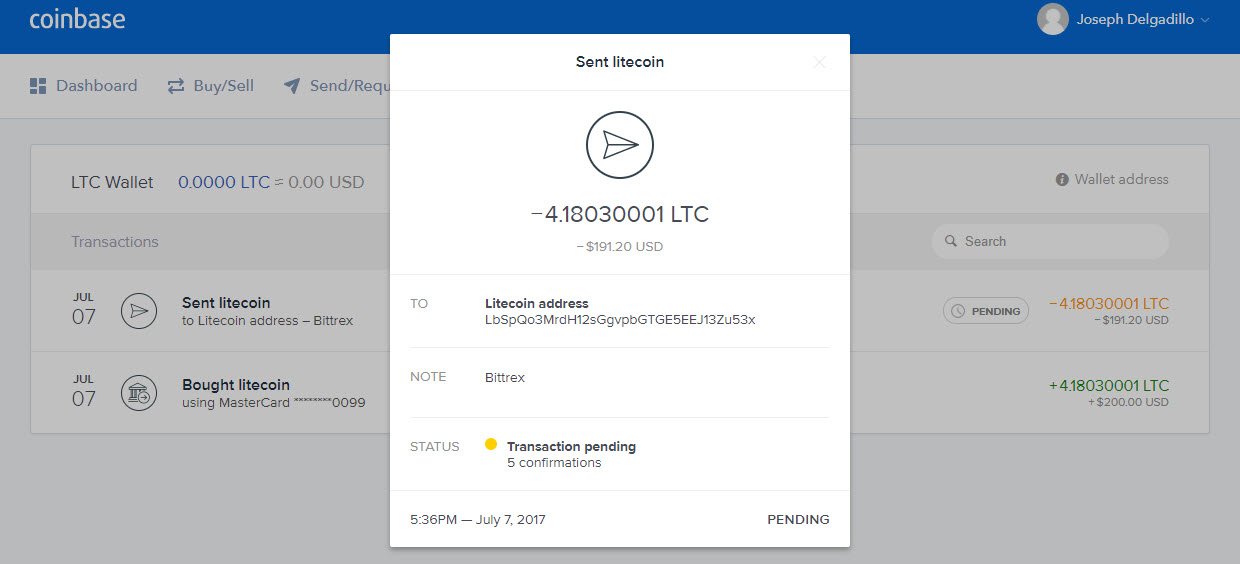
At this point, I felt like an idiot. I completely forgot that the network has to confirm the transaction. Even with 100% transparency, I still managed to question the system!
Step 11: Litecoin Available to Trade on Bittrex

My Litecoin transfer was confirmed by the network and it was now available to trade on Bittrex. The next step was to buy some Steem…or was it?
Step 12: Trading My Litecoin for Bitcoin

As far as I could tell, you are only able to trade Bitcoin for Steem? Please let me know if this was an unnecessary step. Anyhow, I clicked on the BTC-LTC listing, went down to the “SELL LITECOIN” box, and clicked on the green “Max” button. The fields auto-populated and I hit Sell Litecoin.
Step 13: Trading Bitcoin for Steem
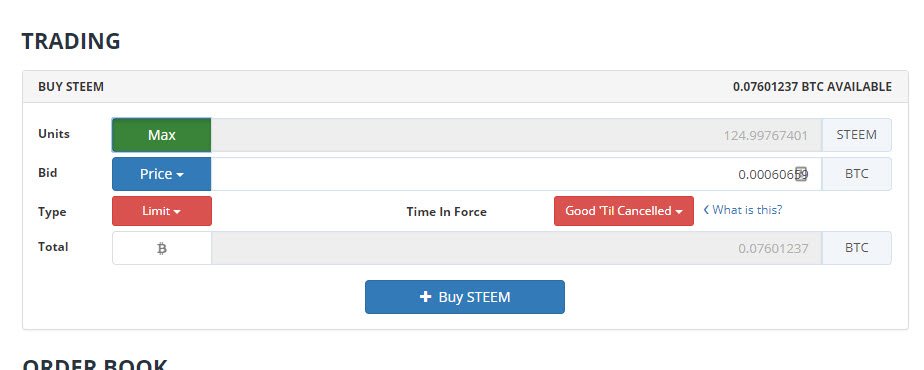
The time had finally come to purchase some sweet, sweet Steem! This part of the process was a bit confusing at first because I didn’t realize you first had to select the bid amount. I kept pressing the Max button and wasn’t getting any values. Totally makes sense now…
Step 14: Transferring My Steem to Steemit
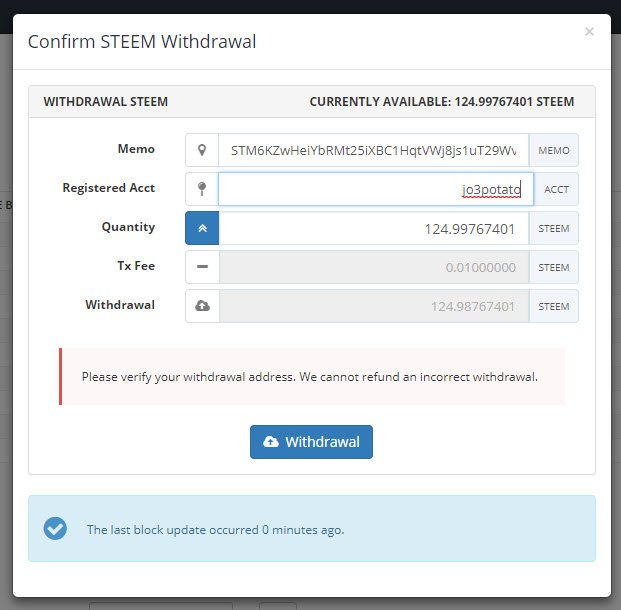
The moment had finally come to transfer my Steem to Steemit! I went to my Wallet on Bittrex, clicked on the “-” sign next to my STEEM balance, and was presented with the the box above. I was able to locate the Memo key under the permissions tab on my Steemit profile, but what was I supposed to enter for the Registered Acct? I was expecting to need to enter a wallet address. Well, I didn’t want to put in the wrong and somehow lose my Steem in the void, so I did my first Google search of the night. Thank you to @cryptos for creating the following post https://steemit.com/bittrex/@cryptos/how-to-transfer-steem-from-bittrex-to-steemit-com. The Registered Acct is just your Steemit username without the “@.”
Step 15: Steem Isn’t Appearing in My Steemit Account
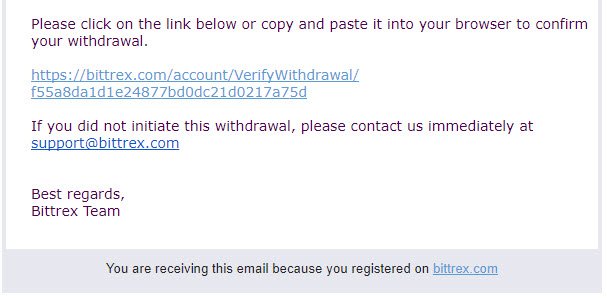
Once again, I am confused as to what is happening. This time I patiently wait for the network to confirm the transfer. Then, as I am checking my email, I see a message from Bittrex asking me to confirm my transfer. Moral of the story, make sure you have your inbox open when you are trading crypto. Chances are you will receive quite a few confirmation emails, especially if this is your first time.
Step 16: Transfer Confirmed
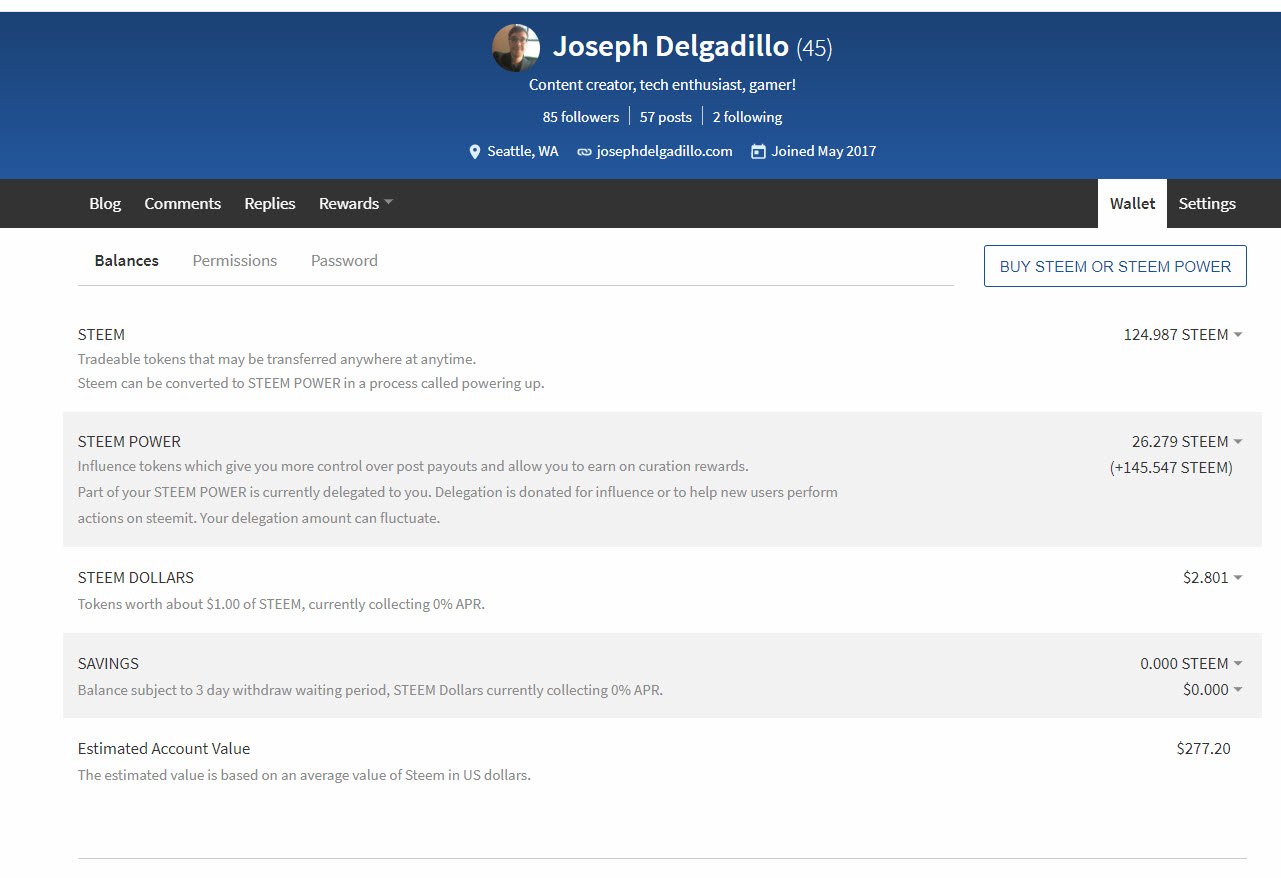
Woo hoo! I am now 124.987 Steem richer!
Step 17: Powering Up
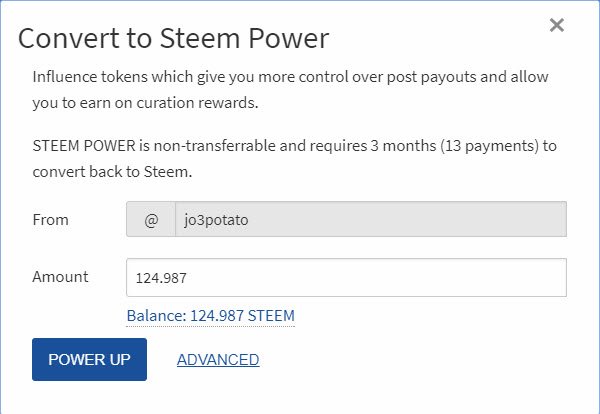
Because, why wouldn’t you?
Step 18: The End

And this Steemian lives happily ever after…
I would like to thank @aarellanes for motivating me to create my Steemit account and @jerrybanfield for convincing me to make my first Steem buy!
Best,
Joseph Delgadillo
https://steemit.com/@jo3potato
https://www.youtube.com/c/JosephDelgadillo


